
I first heard about winter sowing on the Joe Gardener Show podcast. I was crouched among my tomatoes under a hot July sun when Joe’s guest Trudi Davidoff began speaking about a way for northern gardeners to start seeds in the dead of winter, leave them completely alone in a snowbank until spring, and end up with stronger, more resilient plants than the ones we coddle indoors on a window sill. All it takes, she said, is planting cold-tolerant seeds in clear plastic containers with holes in the top and bottom, sealing the sides with duct tape, and putting them outside in January or February.
I rocked back on my heels, completely transfixed. The science made complete sense, now that I thought about it. Any seed that expects to live through cold temperatures has mechanisms that require a period of cold before it will sprout. I’ve been teaching that for years at seed-starting workshops. It’s why perennials native to my northern Ontario home need to be stratified in the back of a refrigerator for a period of time before they can be planted. And there’s a long list of annual veggies that do best when their seeds are plunged into April’s still-frigid ground.
The perforated containers ensure the seeds wouldn’t rot in standing water or be eaten by rodents, which are factors that prevent us from letting many of these plants self-sow in autumn. And the clear plastic acts as a miniature greenhouse, giving the seeds a “spring is here!” cue earlier than anything planted in the garden.
The resilience Trudi was talking about made sense too. For one thing, the seeds will be exposed to more beneficial microbes outdoors, which we can consider as essentially the plants’ immune system. Damaging mold and fungus is less likely to thrive under the sun’s UV rays (click here for a post about managing mold on indoor pots), and any seedlings that are genetically too weak to withstand ordinary stressors will be eliminated early, leaving more space for their siblings to thrive.

Furthermore, when we start seeds indoors, they grow leaves that are configured to take advantage of every scrap of the limited light they get. That’s why those leaves will “burn” if the seedling is transplanted directly outside. It needs a gradual hardening off period to assess the new outdoor environment and begin growing leaves with different light settings in place. But winter-sown seedlings begin under the direct sun and don’t need a period of adjustment. Abundant sunshine from the beginning also means short, strong stems instead of the weak, leggy growth of indoor seedlings that are always reaching for the sun.
I’ve seen all this before, when a seedling has popped up in my garden from a veggie that was left to rot the year before. These volunteers are always more robust than the ones I spend so much effort on indoors. The problem, usually, is that they show up too late to reach maturity by the end of our short growing season. I thought the only way to get the best of both worlds was a true greenhouse, but perhaps a clamshell container plucked from the recycling can do nearly as well.
With that mindset, I set out on my first trial of winter sowing. Here’s what that involved:
- Identifying appropriate seeds

Not every plant has evolved seeds that can withstand being frozen while damp. I selected the following:
Cold-climate perennial flowers with packets that recommended stratification
- Butterfly milkweed
- Gloriosa daisy
- Bee balm (wild bergamot)
- Licorice mint
Annual veggies with packets that recommended sowing directly in the garden without waiting for the soil to warm up
- Oregon sugar pod snow peas
- Dinosaur kale (this can actually be a short-lived perennial, depending on insulation and winter temperatures)
- Arugula
- Baby pak choi
- Spinach
Since I sort my seeds based on the time when they need to be sown, this meant I was searching in the bags marked “Sow indoors 10–12 weeks before frost” (perennials) and “Sow in garden as soon as soil can be worked” (annuals).
- Preparing containers

We try to avoid using large numbers of plastic containers in my household, but I’d been saving the ones we did accumulate since that July afternoon. They all needed the ability to be opened and then closed, so I cut the pop bottles most of the way around the middle until just a hinge of plastic was left. They also needed holes in the top for precipitation to enter and in the bottom for drainage. I removed the caps of the bottles and tackled the rest of the holes by heating a nail in a candle flame until it could be pressed right through the plastic. I made myself a grip using masking tape since the whole nail gets pretty hot. You can also make your holes with a drill, which may be healthier since you won’t be breathing in melted plastic.
- Preparing soil

If I’d had home-made compost I would have used that, but since the small amount I was able to produce last year is frozen beneath several feet of snow, I bought a bag of potting mix. I scooped some of it out into a container, poured in some water, and stirred until it was evenly moist and just formed a clump when I squeezed a handful.
I always prefer to dampen my potting mix before I put it in my container, regardless of what kind of planting I’m doing. It makes it easier to mix the moisture in evenly, and it means I won’t be disturbing the placement my seeds by immediately pouring a stream of water over them. Many potting mixes also include hydrophobic (water-repelling) elements, so it can be hard to make sure the water is distributed evenly. Stirring a big batch at once solves that problem. A final reason is that the soil may compress a bit once it’s damp, leaving the unwary potter to realize they’ve added too little soil to the pot.
- Labelling containers

I have learned the hard way that it is much easier to label containers before planting in them. Last year I prepared one cluster of pots with pole bean seeds and a second cluster with bush bean seeds, then turned around to grab my Sharpie. When I turned back, I had completely forgotten which was which, and I spent the rest of the summer finding creative ways to stake pole beans that were planted in the wrong spot. There’s also the issue of trying to use tape or markers on a damp, soil-spotted container with damp, soil-spotted hands. Much better to plan and execute the labels before everything gets messy. For these containers, which will be exposed to harsh elements for months, I wrote in permanent marker on a piece of masking tape and then covered that with a piece of packing tape.
- Adding soil

I added soil to just below the point where each of my containers opened. My one concern with this technique is that some of my containers are fairly shallow, so I’ll be curious to see if any of the plants struggle to establish robust root systems. To make sure there were no large air pockets in my soil, I held each container several inches above my table and dropped it, then repeated that manoeuvre several times.
- Planting according to the packet directions
It was easy to plant according to the directions for the perennial flowers, since the seed company expected gardeners to be starting them in pots. For the vegetables, which were expected to be sown directly in the garden, I did have to make some adaptations. The wide spacing recommended for the garden is impractical in a pop bottle. I compromised by leaving just enough space between plants that will, I hope, let me separate them painlessly for transplanting once they outgrow the container.
- Sealing the containers
I used duct tape on the seams until it ran out, then switched to packing tape. Other growers have reported success with both. The importance is simply to make sure the container won’t come open unexpectedly and expose the seeds or seedlings to more weather than you want them to experience.
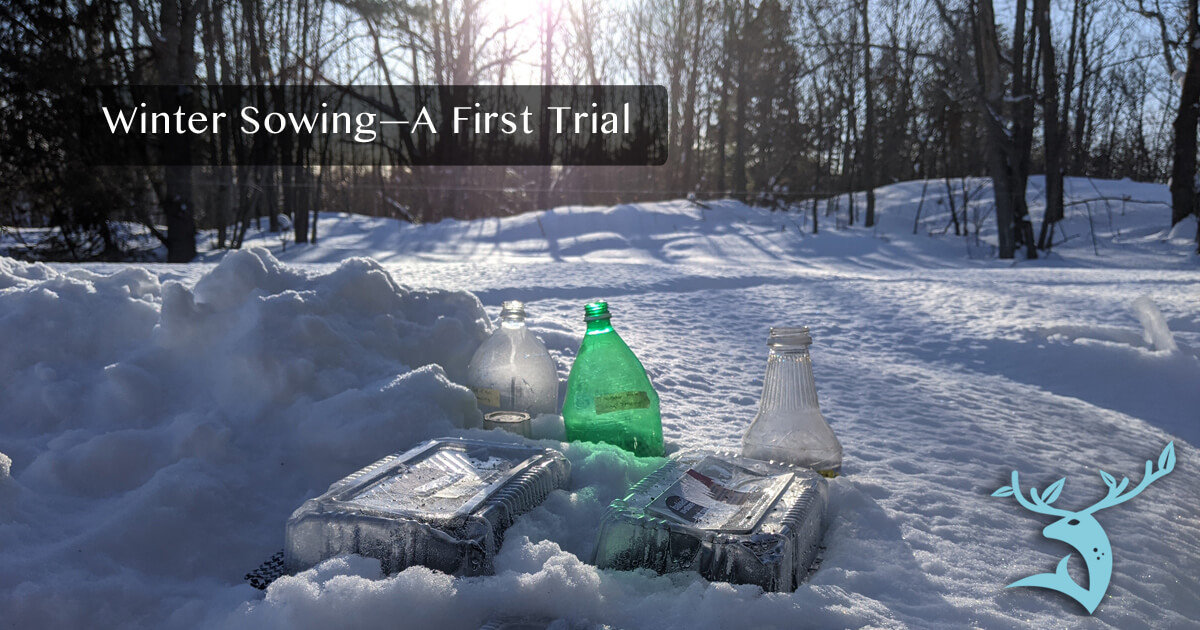
- Choosing a location

It was dark when I finished my planting, so I put my containers on my front porch overnight. I wanted them to go outside immediately because spending too long in a warm, damp environment might signal that it’s time to think about germinating. The next day I selected a spot on the southern side of my house, where there is plenty of sun, and sank them gently into the snow. I made sure they were not under the eaves, since I want them to get their full share of precipitation. For now, I want them to stay buried in snow so that the sun doesn’t warm them too much before it’s safe for them to sprout. Snow is also an excellent insulator against the worst cold. In the spring, I’ll want rain to be able to enter and moisten the soil.
- Waiting
This is the exciting part! I have nine different kinds of plant started…in February…and I have nothing else to do until spring. Once they germinate, I’ll keep an eye on them. If there is going to be a drastic late frost I can toss a blanket over the seedlings at night. If they grow taller than their containers before the garden is ready for them, I’ll need to open the lids, which will make them more prone to drying out so I’ll need to start watering them.
I’ll post updates as the season progresses and report on their success compared to any windowsill-grown siblings. And in a year I may be able to start reporting on comparisons with starting in a greenhouse. So many plans!
Happy growing.